All Categories
Featured
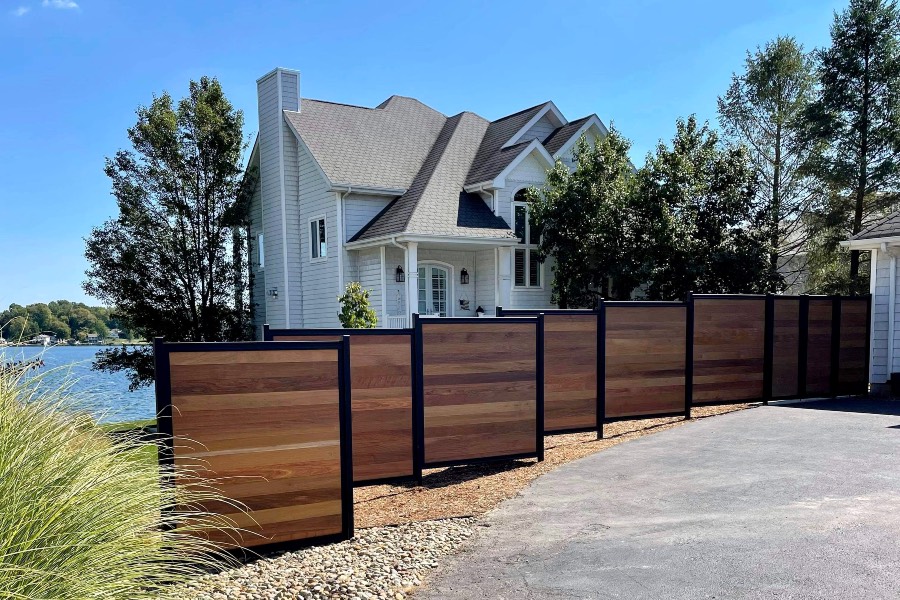
A leaning or harmed fence blog post can be a significant aggravation, affecting the stability of your entire fence. Whether as a result of weather, maturing, or outside pressure, a leaning fencing post can trigger a drooping or irregular appearance that not just jeopardizes your fence's stability yet additionally its safety. Luckily, dealing with a leaning or harmed fence post is a convenient DIY task. Here's just how to tackle the concern and recover your fencing to its original condition.
![]()
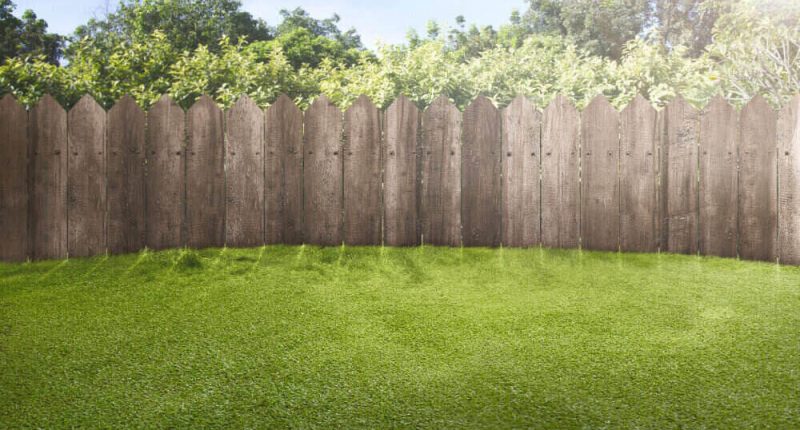
Soil disintegration: With time, the dirt around the base of the post may erode due to hefty rain or flooding, triggering the article to lean. Rot: Wood fencing articles can rot at the base because of long term direct exposure to moisture, leading to instability. Stress: Exterior forces such as wind, the weight of the fence, or leaning branches can create the article to break or lean. When you have actually determined the sort of damages, you can select one of the most appropriate solution.
Pour the concrete around the base of the post, filling the opening. Make sure the post stays level as the concrete collections.
Choice 2: Gravel: If you like a quicker, less permanent repair, you can use crushed rock rather than concrete. Pour gravel around the base of the article, seeing to it it's stuffed snugly. This alternative permits better water drainage around the base, which can avoid additional rot and leaning in the future.
![]()
Action 1: Remove the broken or rotted message by loosening up the concrete or crushed rock around it using a sledgehammer or post puller. Step 2: Once the post is eliminated, prepare the hole for the new blog post by ensuring it's deep enough to fit the brand-new post and the product for reinforcement (concrete or gravel) Step 3: Mount the brand-new article in the red, ensuring it's degree and lined up with the other articles. Tip 4: Adhere to the exact same actions for securing the new post as laid out previously, either using concrete or gravel for stability. 6. If Required), reinforce with Dental Braces (. Take into consideration strengthening it with added assistance if the article is still not secure after aligning and safeguarding it. You can use a diagonal support to hold the blog post upright up until the concrete completely collections or as an irreversible reinforcement. Connect one end of the support to the top of the blog post and the various other end to a nearby fencing message or tough support. This will stop the blog post from leaning again.
![]()
Conclusion. Fixing a leaning or damaged fencing article is a straightforward yet gratifying task that can recover your fence's stability and appearance. By adhering to these actions and addressing the origin of the problem, you can ensure that your fence remains secure and upright for years ahead. Whether you're straightening out a leaning post or changing one that's irreparable, looking after your fencing messages without delay will help you maintain the stability and protection of your fencing.
- Analyze the Damages. Prior to you start dealing with the leaning fencing post, it is necessary to analyze the damage completely. Establish whether the blog post is just leaning or if it's broken, decomposed, or broken at the base. Common reasons for leaning fence articles consist of:
Soil disintegration: With time, the dirt around the base of the post may erode due to hefty rain or flooding, triggering the article to lean. Rot: Wood fencing articles can rot at the base because of long term direct exposure to moisture, leading to instability. Stress: Exterior forces such as wind, the weight of the fence, or leaning branches can create the article to break or lean. When you have actually determined the sort of damages, you can select one of the most appropriate solution.
- Dig Around the Base of the Message. To deal with a leaning blog post, you'll require to expose the base. Start by excavating around the base of the blog post with a shovel, producing a hole concerning 12 inches large and 18 to 24 inches deep. Beware not to damage the blog post additionally as you dig. You intend to ensure the dirt surrounding the post hangs enough to enable rearranging or added assistance.
- Correct the alignment of the Message. You can straighten it prior to securing it once again if the message is only leaning and not severely damaged. Use a level to make sure the message is lined up correctly, seeing to it it's upright. You might need a helper for this action to keep the message in area while you add assistance.
- Include New Concrete or Crushed Rock. To strengthen the article and avoid future leaning, you will need to add brand-new concrete or gravel to the base. Right here's just how to do it:
Pour the concrete around the base of the post, filling the opening. Make sure the post stays level as the concrete collections.
Choice 2: Gravel: If you like a quicker, less permanent repair, you can use crushed rock rather than concrete. Pour gravel around the base of the article, seeing to it it's stuffed snugly. This alternative permits better water drainage around the base, which can avoid additional rot and leaning in the future.
- If Required), change the Blog Post (. It might be best to replace the post totally if the blog post is badly damaged or decayed at the base. This process involves getting rid of the damaged article, which can be testing if it's deeply ingrained in concrete or crushed rock. Here's how to replace it:
Action 1: Remove the broken or rotted message by loosening up the concrete or crushed rock around it using a sledgehammer or post puller. Step 2: Once the post is eliminated, prepare the hole for the new blog post by ensuring it's deep enough to fit the brand-new post and the product for reinforcement (concrete or gravel) Step 3: Mount the brand-new article in the red, ensuring it's degree and lined up with the other articles. Tip 4: Adhere to the exact same actions for securing the new post as laid out previously, either using concrete or gravel for stability. 6. If Required), reinforce with Dental Braces (. Take into consideration strengthening it with added assistance if the article is still not secure after aligning and safeguarding it. You can use a diagonal support to hold the blog post upright up until the concrete completely collections or as an irreversible reinforcement. Connect one end of the support to the top of the blog post and the various other end to a nearby fencing message or tough support. This will stop the blog post from leaning again.

- Routine Upkeep. Once the leaning blog post is fixed, ensure to routinely evaluate the blog posts for indications of damages or leaning. Inspect the problem of the timber or other products used in your fencing to avoid future issues. If you stay in a location prone to heavy rains or dirt erosion, consider including additional support to your blog posts by utilizing concrete or crushed rock and making sure correct drain around the blog posts.
Conclusion. Fixing a leaning or damaged fencing article is a straightforward yet gratifying task that can recover your fence's stability and appearance. By adhering to these actions and addressing the origin of the problem, you can ensure that your fence remains secure and upright for years ahead. Whether you're straightening out a leaning post or changing one that's irreparable, looking after your fencing messages without delay will help you maintain the stability and protection of your fencing.
Latest Posts
Take Advantage of Limited-Time Auto Repair Deals in Chicago at Montclare Auto Repair
Published May 28, 25
1 min read
Improve Your Home's Outside with Weathercraft's Siding Solutions
Published May 27, 25
1 min read
Unlock Your Financial Partner at WyHy – Key Advantages for Your Financial Success
Published May 25, 25
1 min read
More
Latest Posts
Take Advantage of Limited-Time Auto Repair Deals in Chicago at Montclare Auto Repair
Published May 28, 25
1 min read
Improve Your Home's Outside with Weathercraft's Siding Solutions
Published May 27, 25
1 min read
Unlock Your Financial Partner at WyHy – Key Advantages for Your Financial Success
Published May 25, 25
1 min read